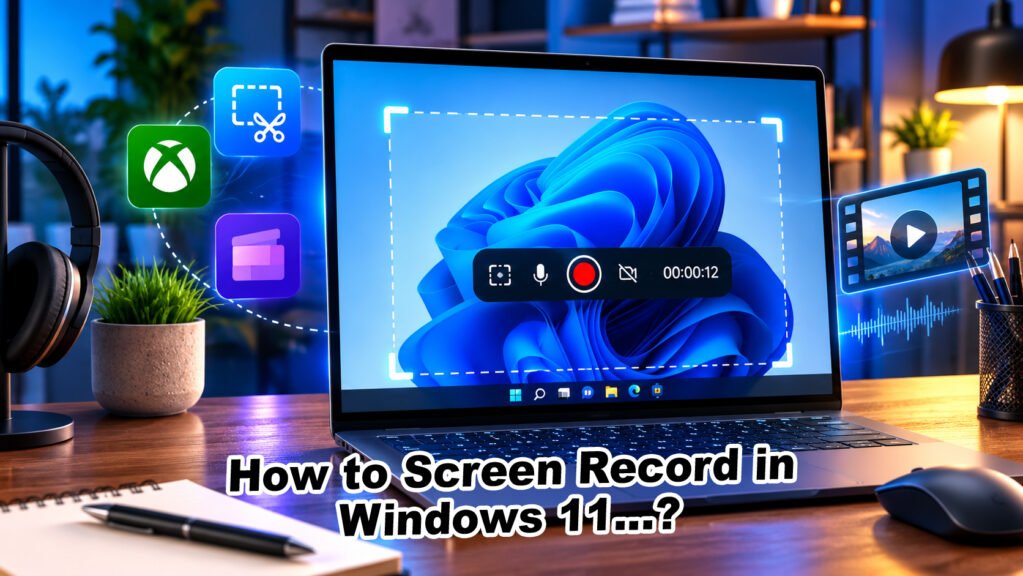
How to Screen Record in Windows 11…? Screen recording is useful when you want to create a tutorial, explain a software problem, record a presentation, demonstrate an app, or show someone exactly what is happening on your computer.
Windows 11 already includes several ways to record your screen, so you do not necessarily need to install a separate screen-recording program. Snipping Tool is useful for recording a selected area, Xbox Game Bar can capture supported apps and games, and Microsoft Clipchamp provides screen recording along with editing features.
1. How to Screen Record in Windows 11 Using Snipping Tool
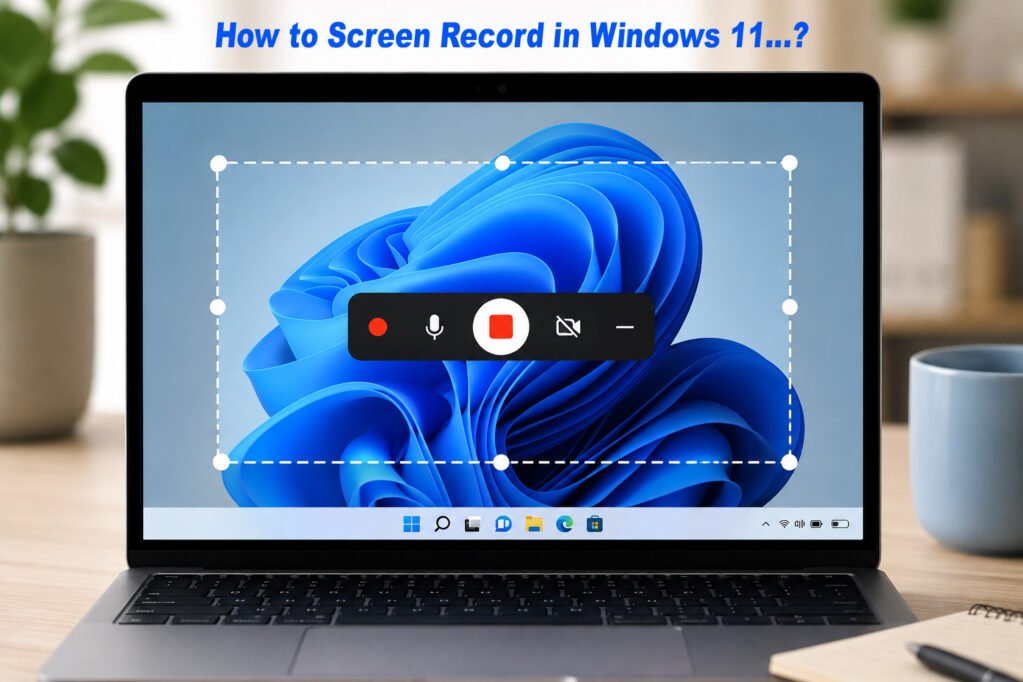
Snipping Tool is one of the simplest built-in options for screen recording in Windows 11. It allows you to select the part of the screen you want to capture before you begin recording.
This is useful when you do not want to record everything on your monitor and only need a particular area for your tutorial or demonstration. Microsoft added screen recording to Snipping Tool in Windows 11.
Step 1: Open Snipping Tool
Open the Start menu and search for Snipping Tool.
Select the application to open it.
Step 2: Choose the Record Option
When Snipping Tool opens, select the Record option.
Then select New to create a new screen recording.
Step 3: Select the Area You Want to Record
Use your mouse to select the area of the screen you want to capture.
Choose an area that includes everything you need for the tutorial or demonstration.
Step 4: Start the Recording
Start the recording after selecting the area.
Snipping Tool will begin capturing the selected part of your screen.
You can now perform the actions you want to demonstrate.
Step 5: Stop the Recording
When you have finished, select the Stop button.
Snipping Tool will return you to the recording interface, where you can review the result.
Step 6: Save the Recording
If everything looks correct, save the video to your computer.
Snipping Tool is a good choice when you want a quick recording without installing another screen recorder.
Note: If the recording option is missing, make sure your Windows 11 installation and Snipping Tool are up to date. Windows 11 N editions have additional media-related limitations, including the Snipping Tool screen-recording feature.
2. How to Screen Record in Windows 11 With Xbox Game Bar
Xbox Game Bar is another screen-recording option built into Windows. Despite its name, it is not limited to games. It can record supported applications and games when you need to capture what is happening inside them.
This method is particularly convenient because you can start and stop recording using keyboard shortcuts.
Step 1: Open the App or Game
First, open the application or game that you want to record.
Make sure the content you want to capture is visible on the screen.
Step 2: Open Xbox Game Bar
Press:
Windows + G
The Xbox Game Bar controls will appear.
If Xbox Game Bar is disabled, open Windows Settings and search for Xbox Game Bar to enable it.
Step 3: Start Recording
To start recording, press:
Windows + Alt + R
The recording will begin.
You can now use the application or play the game while Xbox Game Bar records the activity.
Step 4: Record Your Voice
If you want to include your microphone while recording, press:
Windows + Alt + M
This turns the microphone on or off during the recording.
Step 5: Stop Recording
When you have finished, press:
Windows + Alt + R
The recording will stop.
Where Does Xbox Game Bar Save the Recording?
Xbox Game Bar normally saves recorded clips in:
Videos → Captures
The recording is saved as an MP4 video file.
When Should You Use Xbox Game Bar?
Xbox Game Bar is a convenient choice when you want to quickly record a supported application or game using keyboard shortcuts.
It is not the best option when you need a flexible recording of your entire desktop or want built-in video editing features.
3. How to Screen Record Using Microsoft Clipchamp
If you want to record your screen and then edit the video, Microsoft Clipchamp provides a more complete workflow.
You can record your screen, trim unwanted parts, split clips, adjust the audio, add text, and export the finished video. Clipchamp supports screen recording for personal and work or school accounts, although some features can vary depending on the account and version you are using.
Step 1: Open Clipchamp
Open the Start menu and search for:
Clipchamp
Open the application.
You can also use Clipchamp through a supported browser.
Step 2: Open the Recording Tools
Inside Clipchamp, open the Record & Create section.
Choose the Screen recording option if you only want to capture your screen.
Step 3: Allow Microphone and Camera Permissions
If this is your first time using the recording feature, Clipchamp may ask for permission to access your microphone or camera.
Allow the permissions you need.
If you are recording only the screen, you can keep the webcam turned off.
Step 4: Choose What You Want to Record
Clipchamp allows you to choose what should be captured.
Depending on the version you are using, you can select options such as:
- Browser tab
- Application window
- Entire screen
Choose the option that matches your recording.
Step 5: Start Recording
Select the option to start the screen recording.
After the countdown, the recording will begin.
You can now demonstrate the process you want to show.
Step 6: Stop the Recording
When you have finished, select the option to stop sharing or stop the recording.
Your recording will then be available for review and editing.
Step 7: Edit the Video
One of the main advantages of Clipchamp is that you can edit the recording after capturing it.
You can:
- Trim unwanted sections
- Split the video
- Remove unnecessary parts
- Adjust or remove audio
- Add text and titles
- Combine additional clips
- Change the video layout
These tools are useful when you are creating a tutorial instead of simply recording a quick clip.
Step 8: Export the Video
After finishing your edits, use the Export option to save the finished video.
Clipchamp can export the edited recording as an MP4 video.
4. How to Record Your Screen and Webcam Together
If you are creating a tutorial, presentation, product demonstration, or reaction video, you may want your webcam to appear while your screen is being recorded.
Clipchamp supports screen and camera recording together.
The screen and webcam recordings can be edited separately after recording, which gives you more control over how the final video looks.
Step 1: Open Clipchamp
Open Clipchamp and go to the Record & Create section.
Choose Screen & Camera.
Step 2: Allow Camera and Microphone Access
If prompted, allow Clipchamp to access your camera and microphone.
Check that the correct camera and microphone are selected before starting.
Step 3: Select the Screen You Want to Record
Choose the screen, application window, or browser tab you want to capture.
Then select the option to share it.
Step 4: Start Recording
After the countdown, the screen and camera recording will begin.
You can explain the process while demonstrating it on your screen.
Step 5: Stop the Recording
When you are finished, stop the recording.
Clipchamp will bring the recording into the editor.
Step 6: Adjust the Webcam Position
If you recorded both your screen and webcam, you can change the position and size of the webcam footage.
For example, you can place the webcam video in a corner of the screen to create a picture-in-picture style tutorial.
Step 7: Edit and Export
Remove unnecessary sections, adjust the layout, and make any other changes you need.
When the video is ready, export it as an MP4 file.
Which Screen Recording Method Should You Use?
Each method is useful for a different purpose.
Snipping Tool
Best for: Quick screen recordings and selected areas of the screen.
If you want something simple and do not need advanced editing, Snipping Tool is a good starting point.
Xbox Game Bar
Best for: Recording supported applications and games.
It is especially convenient when you want to start recording quickly with a keyboard shortcut.
Clipchamp Screen Recording
Best for: Tutorials and videos that need editing.
Clipchamp gives you more control after the recording is finished.
Clipchamp Screen & Camera
Best for: Tutorials, presentations, demonstrations, and reaction-style videos where you want your webcam visible.
How to Record Your Entire Screen in Windows 11
If you need to capture everything visible on your monitor, use a recording method that allows you to select the entire screen.
Clipchamp provides an entire-screen recording option when you choose what to share. You can also select an individual window or browser tab when you only need to capture part of your screen.
Recording only the required window or tab can be a better choice for tutorials because it prevents unrelated applications, notifications, or other desktop content from appearing in the video.
How to Record Your Voice While Screen Recording
If you are creating a tutorial, recording your voice can make the video easier to follow.
With Xbox Game Bar, you can toggle the microphone during recording by pressing:
Windows + Alt + M
Clipchamp can also use your computer’s microphone while recording the screen. Before starting, check that the correct microphone is selected and that the microphone permission has been granted.
A short test recording is worth doing before you start a long tutorial. It lets you confirm that both the video and your voice are being captured properly.
Where Are Windows 11 Screen Recordings Saved?
The location depends on the tool you use.
Xbox Game Bar
Xbox Game Bar normally saves recordings in:
Videos → Captures
The recorded clip is saved as an MP4 file.
Snipping Tool
After stopping the recording, you can save the recorded video from the Snipping Tool interface.
Clipchamp
Clipchamp brings the recording into its editor, where you can edit it and export the finished project as an MP4 video. Depending on the Clipchamp version and account type, the original recording may also be downloaded or uploaded as part of the available workflow.
What If Xbox Game Bar Is Not Recording?
If Windows + Alt + R does not start a recording, first check whether Xbox Game Bar is enabled.
Press:
Windows + I
Open Windows Settings and search for Xbox Game Bar.
Make sure the feature is enabled.
Then open the application or game you want to record and try:
Windows + Alt + R
again.
Remember that Xbox Game Bar is designed to record supported apps and games, so it is not the right tool for every type of desktop recording.
If you need to select an area of the screen or record the entire desktop, Snipping Tool or Clipchamp may be a better choice.
Tips for Better Windows 11 Screen Recordings
Close Unnecessary Applications
Before starting the recording, close applications and browser tabs that you do not need.
This keeps the recording cleaner and reduces distractions.
Check Your Microphone
If you are explaining the tutorial while recording, check your microphone before starting.
A quick test can prevent you from recording a complete video without usable audio.
Record Only What You Need
If your tutorial only requires one application, there is no need to show unrelated parts of your desktop.
Select the application window or the relevant area when the recording tool provides that option.
Keep the Cursor Easy to Follow
Move the mouse at a reasonable speed when demonstrating something.
Slow and deliberate movements make it easier for viewers to understand where they need to look.
Make a Short Test Recording
Before recording the complete tutorial, make a short test clip.
Check:
- Video quality
- Microphone audio
- System audio, if required
- Screen area
- Cursor visibility
Once everything looks correct, start the full recording.
Keep Notifications Under Control
Turn off unnecessary notifications before recording.
This prevents unrelated messages, alerts, and private information from appearing in your video.
Final Thoughts
You do not need a complicated screen-recording program just to capture your Windows 11 screen.
For a quick recording of a selected area, Snipping Tool is a practical option. If you need to capture a supported application or game quickly, Xbox Game Bar makes the process simple with keyboard shortcuts. And if you are creating a more polished tutorial or presentation, Clipchamp gives you recording and editing tools in the same workflow.
The best method depends on what you are trying to record. Choose the simplest tool that gives you the screen area, audio, and editing options you actually need.
Before recording an important tutorial, make a short test first. Check the video, microphone, and recording area, and then start the full recording.
With the tools already available in Windows 11, you can create clear screen recordings without installing a separate screen recorder for basic recording needs.
Explore more practical technology guides on our Blog.
Official references
For the technical details in this article, these are the official Microsoft support resources:
Microsoft Support — Snipping Tool and screen recording
Microsoft Support — Record your screen with Xbox Game Bar
Microsoft Support — How to make a screen recording with Clipchamp